【示例】Canvas修改图片:复制、旋转、调整、缩放、裁剪
作者:admin 时间:2022-8-12 15:44:9 浏览:Canvas 擅长的一件事是修改图像。任何图像都可以作为 Canvas 的数据源:img 元素、视频元素甚至是另一个 Canvas 。获得数据后,你可以逐个像素地或使用 Canvas API 来操作它。
本文介绍 Canvas 如何操作图片:复制(copy)、旋转(rotate)、调整(resize)、缩放(scale)、裁剪(crop)。
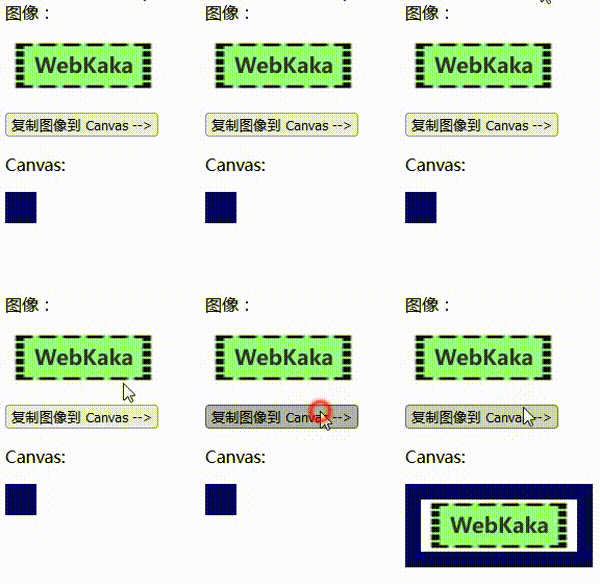
复制(copy)
效果
HTML
<!DOCTYPE html>
<html>

<body>
  <p>图像:</p> <img id="img1" src="img-1.jpg">
  <p>
    <button>复制图像到 Canvas --></button>
  </p>
  <p>Canvas:</p>
  <canvas id="canvas1" style="border:15px solid #000066;"> 你的浏览器不支持 HTML5 canvas </canvas>
  <script>
  var sourceimage = document.querySelector('img');
  var canvas = document.querySelector('canvas');
  canvas.height = canvas.width = 0;
  var context = canvas.getContext('2d');

  function copy() {
    var imgwidth = sourceimage.offsetWidth;
    var imgheight = sourceimage.offsetHeight;
    canvas.width = imgwidth;
    canvas.height = imgheight;
    context.drawImage(sourceimage, 0, 0);
  }
  var button = document.querySelector('button');
  button.addEventListener('click', copy, false);
  </script>
</body>

</html>
在 Canvas上拥有图像后,你可以使用 Canvas API 以任何方式对其进行操作。请注意,Canvas 中没有状态。每一步都像在 Canvas 的原始内容上绘画,没有撤消。你所做的就是操纵 Canvas。
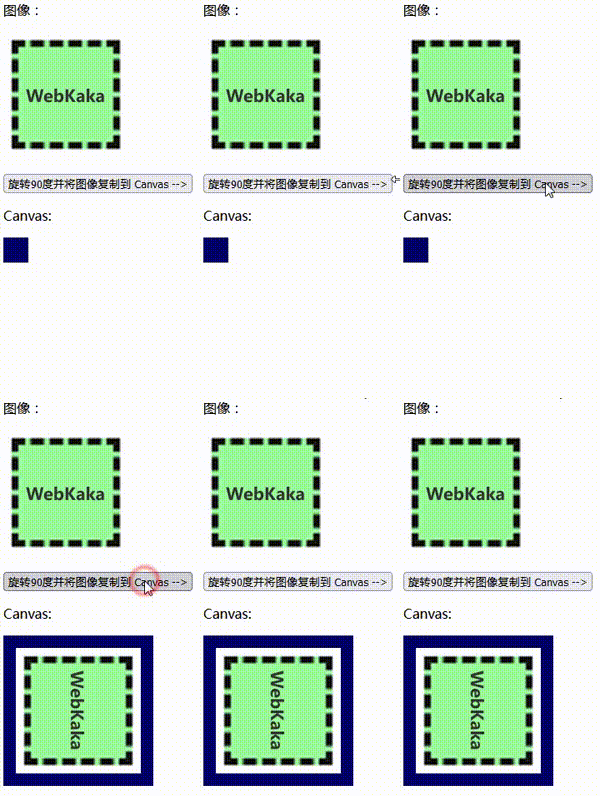
旋转(rotate)
效果
HTML
<!DOCTYPE html>
<html>

<body>
  <p>图像:</p> <img id="img1" src="img-2.jpg">
  <p>
    <button>旋转90度并将图像复制到 Canvas --></button>
  </p>
  <p>Canvas:</p>
  <canvas id="canvas1" style="border:15px solid #000066;"> 你的浏览器不支持 HTML5 canvas </canvas>
  <script>
  var sourceimage = document.querySelector('img');
  var canvas = document.querySelector('canvas');
  canvas.height = 0;
  canvas.width = 0;
  var context = canvas.getContext('2d');
  function rotate() {
    var imgwidth = sourceimage.offsetWidth;
    var imgheight = sourceimage.offsetHeight;
    canvas.width = imgwidth;
    canvas.height = imgheight;
    context.save();
    context.translate(imgwidth / 2, imgheight / 2);
    context.rotate(Math.PI/2);
    context.drawImage(
      sourceimage, -(imgwidth / 2), -(imgheight / 2)
    );
    context.restore();
  }
  var button = document.querySelector('button');
  button.addEventListener('click', rotate, false);
  </script>
</body>

</html>
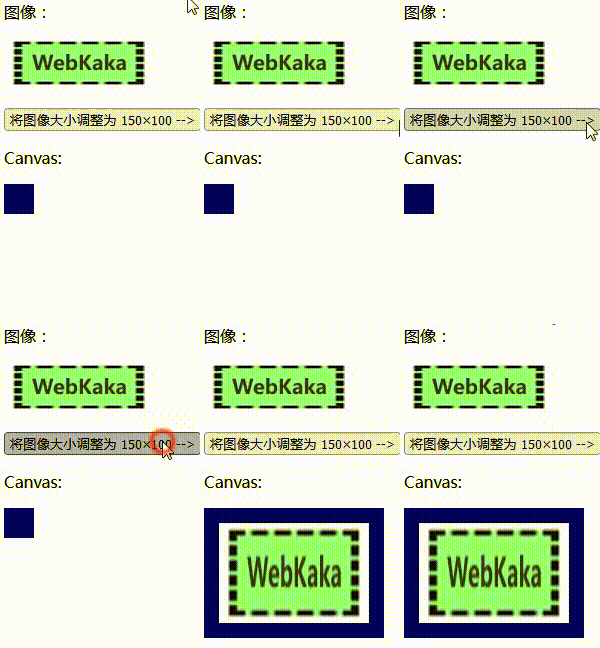
调整(resize)
drawImage()方法不仅可以复制图像,还可以调整其大小。这不像调整 IMG 元素的大小——它只是在视觉上做到这一点。在 Canvas 上调整大小还意味着你丢弃或向图像添加像素。这是一个真正的绘画过程,而不是挤压或拉伸。要调整图像大小,你需要做的就是在drawImage()方法的参数中定义不同的大小。
效果
HTML
<!DOCTYPE html>
<html>

<body>
  <p>图像:</p> <img id="img1" src="img-1.jpg">
  <p>
    <button>将图像大小调整为 150×100 --></button>
  </p>
  <p>Canvas:</p>
  <canvas id="canvas1" style="border:15px solid #000066;"> 你的浏览器不支持 HTML5 canvas </canvas>
  <script>
  var sourceimage = document.querySelector('img');
  var canvas = document.querySelector('canvas');
  canvas.height = canvas.width = 0;
  var context = canvas.getContext('2d');
  function resize() {
    var imgwidth = sourceimage.offsetWidth;
    var imgheight = sourceimage.offsetHeight;
    canvas.width = 150;
    canvas.height = 100;
    context.drawImage(
      sourceimage, 0, 0, imgwidth, imgheight, 0, 0, 150, 100
    );
  }
  var button = document.querySelector('button');
  button.addEventListener('click', resize, false);
  </script>
</body>

</html>
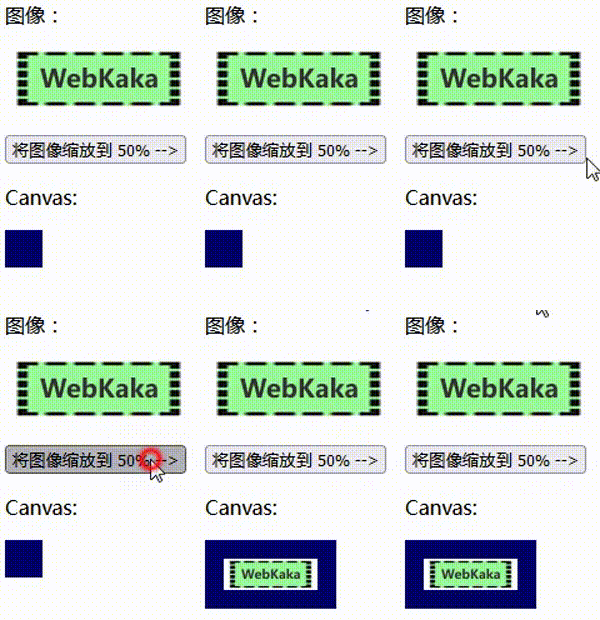
缩放(scale)
如果你要做的只是将图像缩放某个因子,你还可以缩放上下文的坐标系。
效果
HTML
<!DOCTYPE html>
<html>

<body>
  <p>图像:</p> <img id="img1" src="img-1.jpg">
  <p>
    <button>将图像缩放到 50% --></button>
  </p>
  <p>Canvas:</p>
  <canvas id="canvas1" style="border:15px solid #000066;"> 你的浏览器不支持 HTML5 canvas </canvas>
  <script>
  var sourceimage = document.querySelector('img');
  var canvas = document.querySelector('canvas');
  canvas.height = 0;
  canvas.width = 0;
  var context = canvas.getContext('2d');
  var scalex = 1/2;
  var scaley = 1/2;
  function scale(){
    var imgwidth = sourceimage.offsetWidth;
    var imgheight = sourceimage.offsetHeight;
    canvas.width = imgwidth * scalex;
    canvas.height = imgheight * scaley;
    context.scale(scalex, scaley);
    context.drawImage(sourceimage, 0, 0);
  }
  var button = document.querySelector('button');
  button.addEventListener('click', scale, false);
  </script>
</body>

</html>
裁剪(crop)
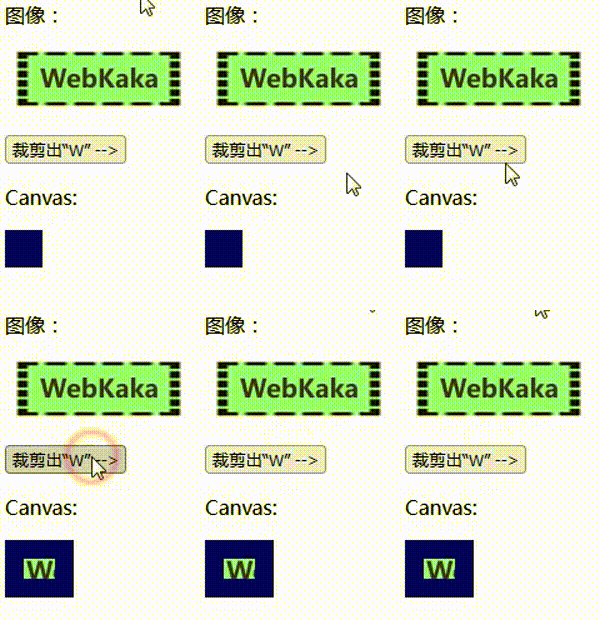
除了使用整个图像,你还可以访问其中的一部分。drawImage()方法允许你选择图像的一部分。你需要做的就是提供一个起始坐标以及要复制的正方形的宽度和高度。例如,要从上面的画布徽标中裁剪“W”,你只需要知道字母从哪里开始以及它有多宽和多高。
效果
HTML
<!DOCTYPE html>
<html>

<body>
  <p>图像:</p> <img id="img1" src="img-1.jpg">
  <p>
    <button>裁剪出“W” --></button>
  </p>
  <p>Canvas:</p>
  <canvas id="canvas1" style="border:15px solid #000066;"> 你的浏览器不支持 HTML5 canvas </canvas>
  <script>
  var sourceimage = document.querySelector('img');
  var canvas = document.querySelector('canvas');
  canvas.height = canvas.width = 0;
  var context = canvas.getContext('2d');
  function copy() {
    canvas.width = 25;
    canvas.height = 16;
    context.drawImage(
      sourceimage, 26, 15, 25, 16, 0, 0, 25, 16
    );
  }
  var button = document.querySelector('button');
  button.addEventListener('click', copy, false);
  </script>
</body>

</html>
分析
drawImage(sourceimage, 26, 15, 25, 16, 0, 0, 25, 16) 中,26,15 是 W 字母的左上角起点坐标(x,y),25,16 是 W 字母的宽和高,单位是像素(px)。
总结
本文通过5个示例,介绍了Canvas修改图片的方法:复制(copy)、旋转(rotate)、调整(resize)、缩放(scale)、裁剪(crop),我们需要弄明白drawImage()函数的使用。
相关文章


